
Well surprisingly, my design was selected to be one of the chosen 'artspots' in a community art project. In all honesty, they didn't get enough applicants so I think everyone was accepted. It was an honour just being nominated.
But it was announced late and I had assumed I hadn't gotten it - which didn't bother me because I've got a lot of other stuff on at the moment and wasn't sure how I'd fit it in anyway. I almost pulled out, but then realised I would have this weekend free, as I seem to be at the 'in between roughs and finals' stage or still 'waiting to begin' stage for my current projects.
So, I got the word on Wednesday, went and picked up the 'spot' to be painted on on Friday (a 1m piece of primed plywood) transferred my design to the spot Saturday, and painted it on Sunday. I took a few pics along the way so I thought I would show The Artspot Fruition.
Now, a 1 metre round piece of wood - I thought ok, no problem, I can do 1 metre. But I don't think I had really thought about exactly how big that is. Let me tell you, it's BIG. So my first challenge was to figure out how to transfer my design onto the spot. Thank god for computers! I enlarged my design to the right size, then took it into Illustrator and printed it out with the page tiling option. It worked like a charm. It was fun watching all the sections come out of the printer!
 So then I taped them all together and cut the circle shape.
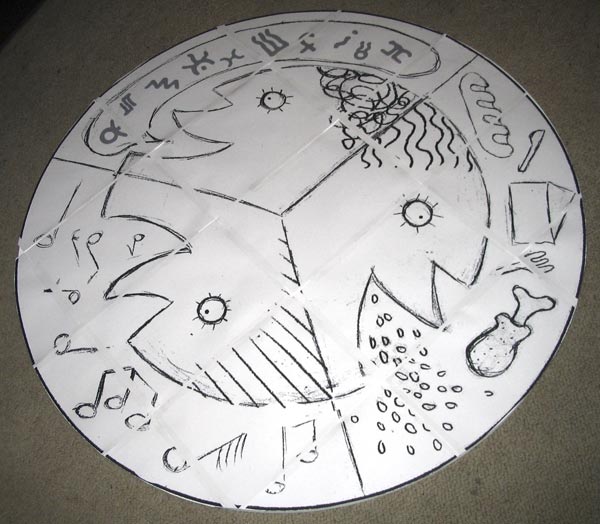 Right. So I've gotten the design to the right size. How to transfer it? I don't think my light box is strong enough to shine through plywood. And then a-ha! I remembered Annette's trick (pictures 2 and 3). Thank god for the internet!
Transfer complete. Breathe a sigh of relief and sleep a dreamless sleep.
The next day (today) I went out and got acrylic indoor/outdoor paint, (never worked with acrylics before!) mixed for me by the friendly neighbourhood paint guy who was very helpful and very into his paint. (ohh, those paint companies they don't know what they're doin. You ask me, they should have done this and this....) Luckily I only needed three colours so I wasn't there for too long ;-)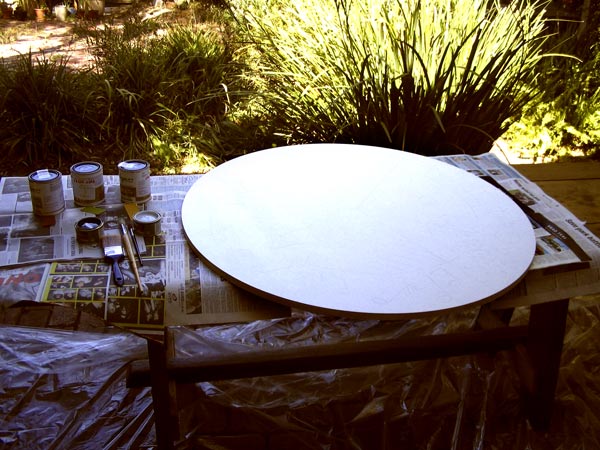 Andy helped set me up outside facing the garden seeing as it was a fairly nice day. Then i was off!
 two coats of yellow
 then green
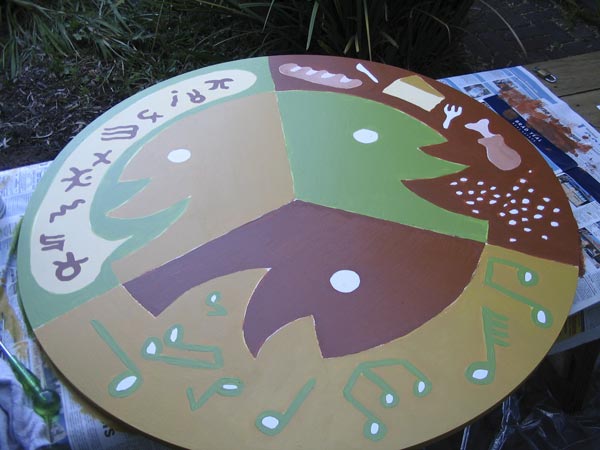 then brown
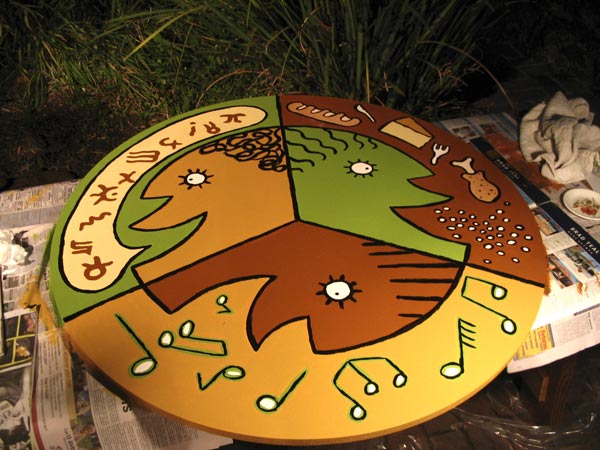 and then the black lines! (which was a glossy paint and like painting with tar.)


7 comments:
Congrats!!!
I loved looking at the process!!
Jen
The result is great, and very interesting process. Nice blog
Great pictures of the whole process! I love posts like this (note to self: take pictures throughout my next project). It looks great, too. Be sure to take a picture for us once it's installed. :)
(I'm the one that removed my comment ... I needed to fix a terrible spelling mistake)
What a great idea and interesting progress! Looks great!
/M
Thanks for the step by step, it was really interesting. Your spot turned out great. I think they should hang it from an awning above a shop once the library is finished displaying it!
¡Excelente!!
Post a Comment